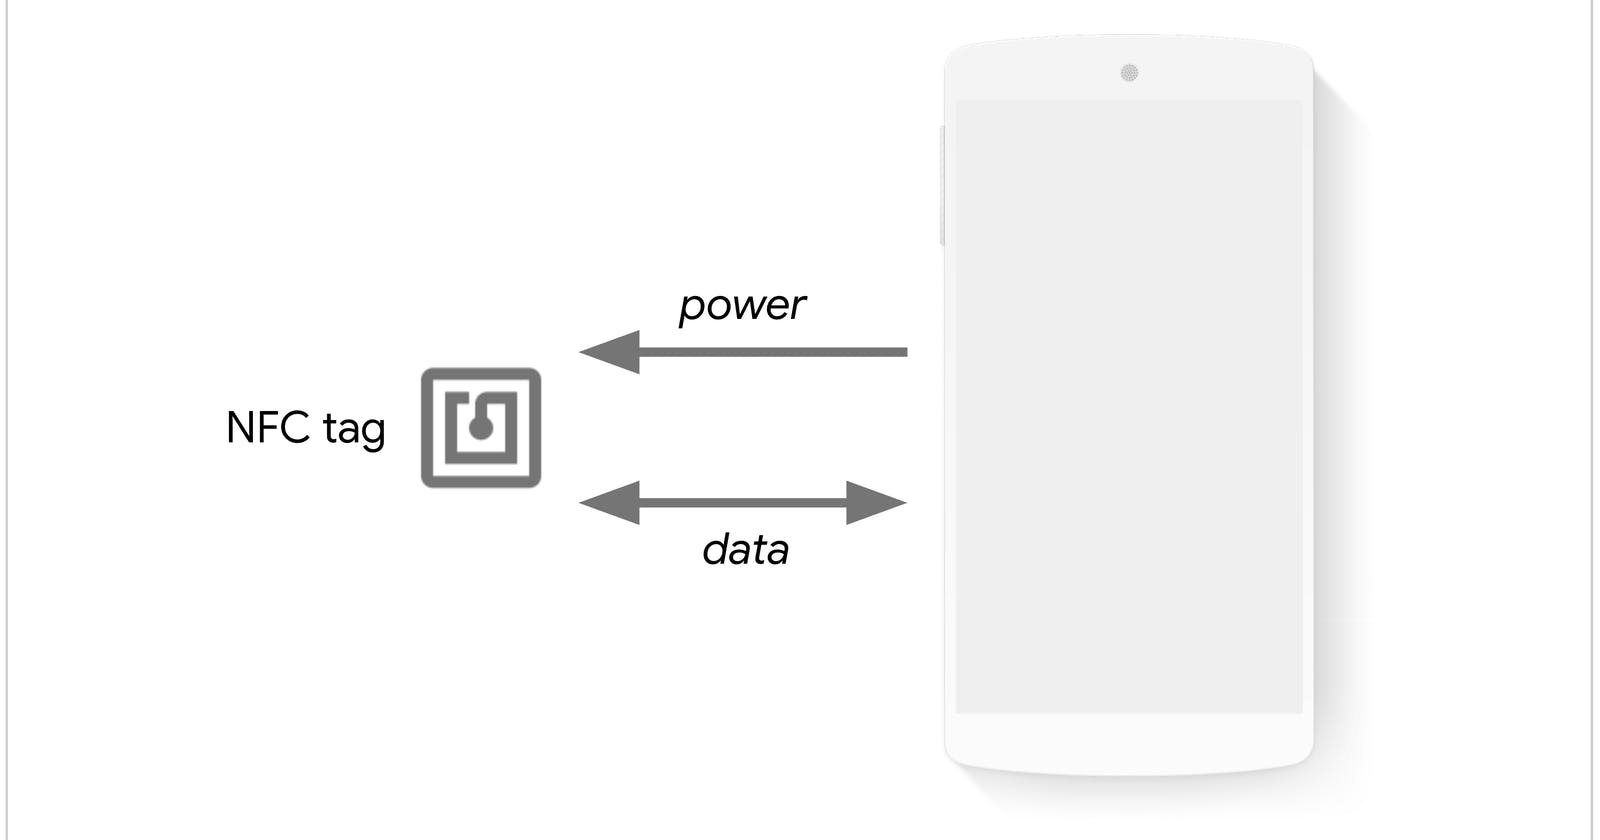
NFC or Near Field Communication is a short-range wireless technology that allows devices at a distance of less than 10cm to communicate. It is mostly useful when interacting with NFC tags. Web NFC became a thing very recently with Google announcing support for it in Chrome for Android.
It is possible to exchange messages using a lightweight format that works across different tags called NFC Data Exchange Format (NDEF).
Common use cases for web NFC would be wherever tags can be used to provide information such as museums, art galleries, conferences, and concerts to display additional information when a user touches an NFC card. It can also be used at events to scan badges. Another use case would be a gamified experience at a retail store, opening a web page to participate.
Payments would probably be built into it at some point in the future I would imagine, but the first release has avoided all the security properties of NFC altogether. The other modes of NFC apart from reader/writer (NDEF) have not yet been implemented in Web NFC. These modes are peer-to-peer, card emulation, and wireless charging.
Getting started
You’ll need NFC tags to get started. There is no Chrome dev tools support to emulate NFC yet. You can get the NFC tag stickers from Amazon. You will also need an Android device that supports NFC. The next one is easy: Chrome v86+.
Writing to a tag
Now that you have the required hardware, writing to a tag is easy:
// can add logic to feature detect first
// if ('NDEFReader' in window) {}
document.getElementById("write-to-nfc-tag").addEventListener("click", async () => {
 try {
     const ndefReader = new NDEFReader();
     await ndefReader.write("Hello Web NFC!");
   } catch (error) {
     console.log(error);
   }
 });
An NDEF message does not necessarily need to be a string. It can be composed of multiple NDEFRecords, that can be text, URLs, or more complex types. Let us write a URL to the tag:
document.getElementById("write-to-nfc-tag").addEventListener("click", async () => {
 try {
     const ndefReader = new NDEFReader();
     await ndef.write({
      records: [{ recordType: "url", data: "[https://www.wisdomgeek.com](https://www.wisdomgeek.com)" }]
    });
   } catch (error) {
     console.log(error);
   }
 });
Reading tags
While reading, you have to differentiate between the different types of records that the tag can contain. Before getting into that, reading can be done using:
try {
    const ndef = new NDEFReader();
    await ndef.scan();
    ndef.addEventListener("reading", ({ message, serialNumber }) => {
        console.log(message.records);
    });
} catch (error) {
    console.log(`Error! Scan failed to start: ${error}.`);
}
The promise only resolves if the user allows the website to interact with NFC devices and has enabled NFC on their phone.
To add the logic of reading different types of messages, we can run a loop and have a switch inside:
const decoder = new TextDecoder();
for (const record of message.records) {
  switch (record.recordType) {
    case "text":
      console.log(`Text: ${decoder.decode(record.data)} (${record.lang})`);
      break;
    case "url":
      console.log(`URL: ${decoder.decode(record.data)}`);
      break;
    case "mime":
      if (record.mediaType === "application/json") {
        console.log(`JSON: ${JSON.parse(decoder.decode(record.data))}`);
      } else {
        console.log(`Media not handled`);
      }
      break;
    default:
      console.log(`Record not handled`);
  }
}
And that is how you read and write to tags using Web NFC. It has simplicity baked into the usage and should spark creative projects around NFC tags in the future. The API will probably expand in the future and other interesting projects will start becoming a thing. If you have any questions, or ideas about using Web NFC, feel free to drop a comment below!
Originally published at https://www.wisdomgeek.com on August 7, 2021.
